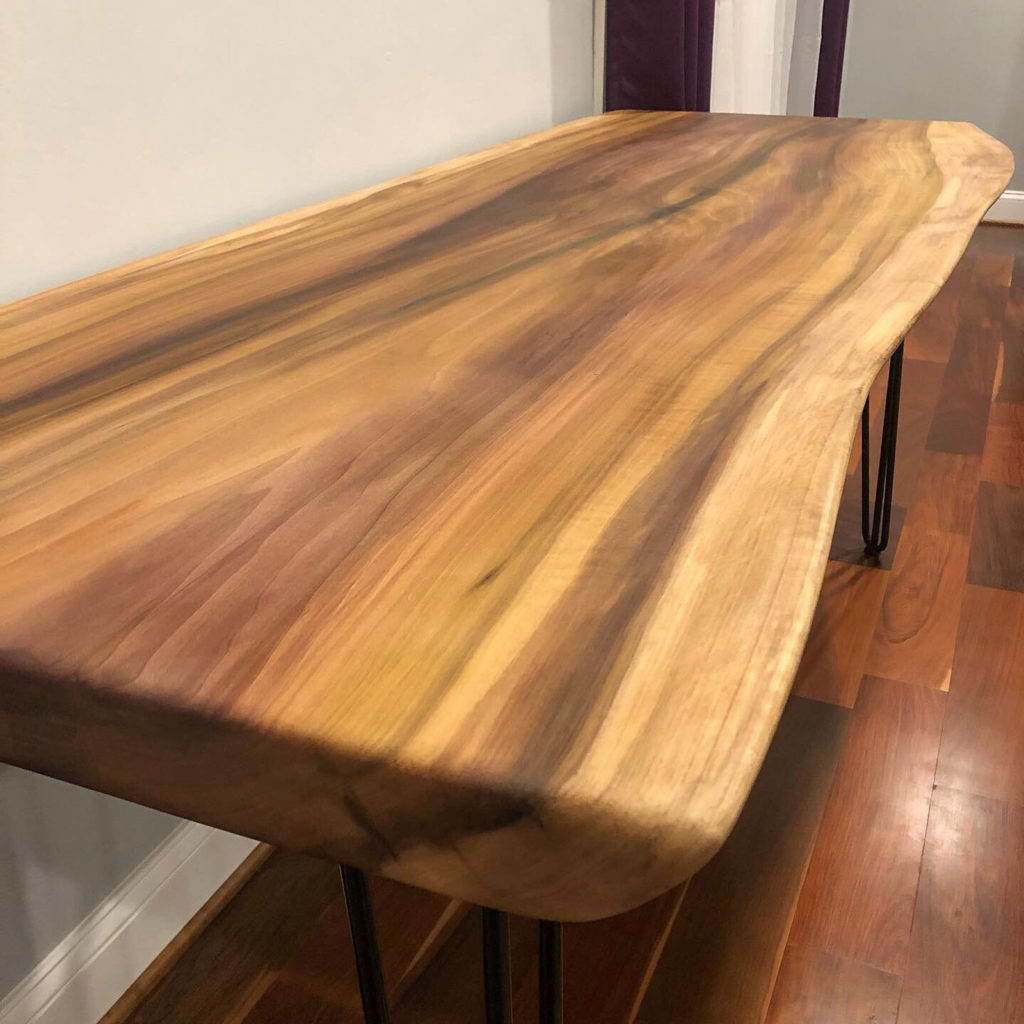
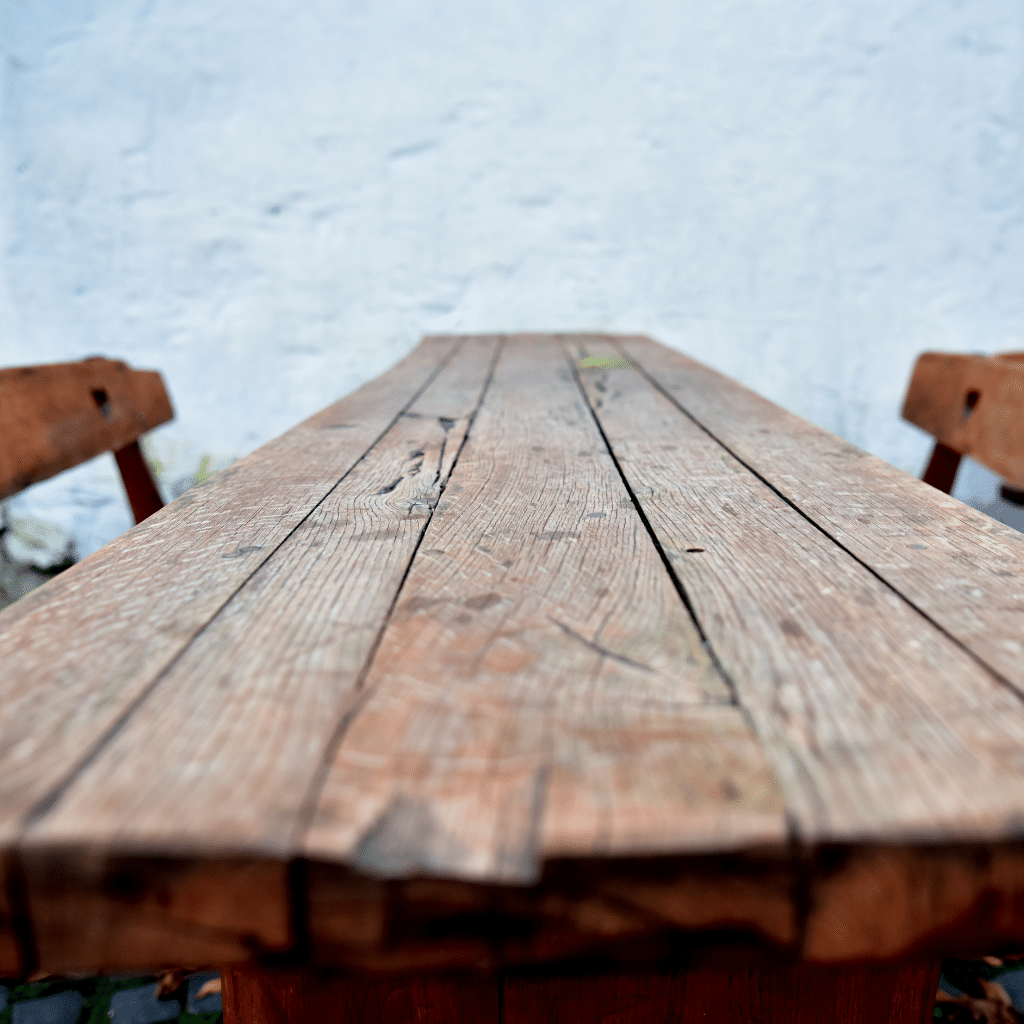
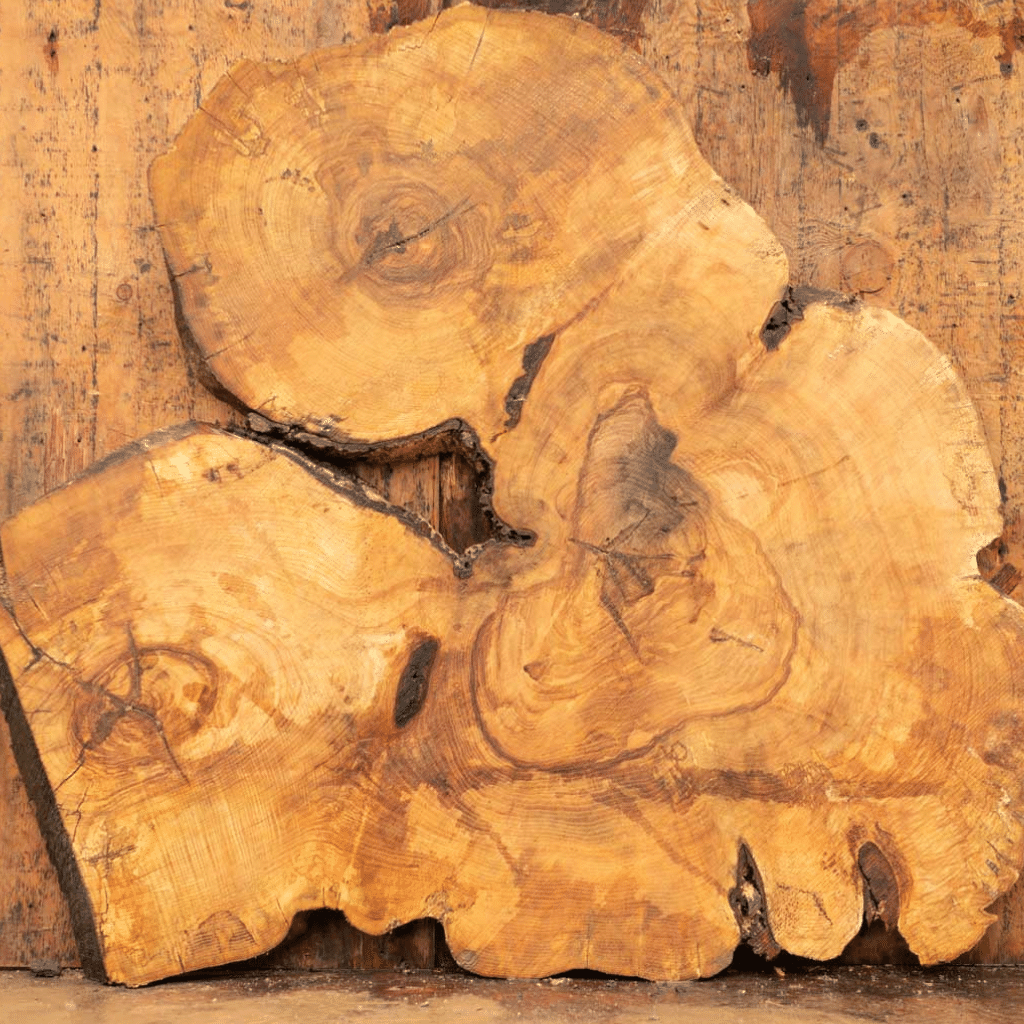
So, you bought your very own live edge slab of wood, and you have big plans for turning it into a coffee table, dining room table, or maybe some floating shelves for your kitchen or a reading nook. Live edge projects create timeless looks that match most decors and styles, meaning the possibilities are endless.

Whatever it is you are looking to do, there are a few things to consider before you walk out of the woodshop and start working on your live edge project. Proper milling, prep, and care are all crucial to your upcoming process, and not knowing how to work with a live edge slab could mean your exciting woodworking project becomes a huge flop.
This quick guide will help make sure you understand the ins and outs of live edge care before you get started.
How to Make Live Edge Wood Slabs
It might seem like the only steps between choosing a slab and creating the end product are “purchase wood, start project, finish project,” but the truth is there’s a lot more to it. Here are a few key things to consider — and questions to ask your mill or woodshop — before getting started.
The Drying Equation
First, you want to confirm with the mill or woodshop that your piece of wood has been properly dried to a moisture content of under 12%. Depending on the species, between 8% – 10% is preferable, but the important number is 12%.
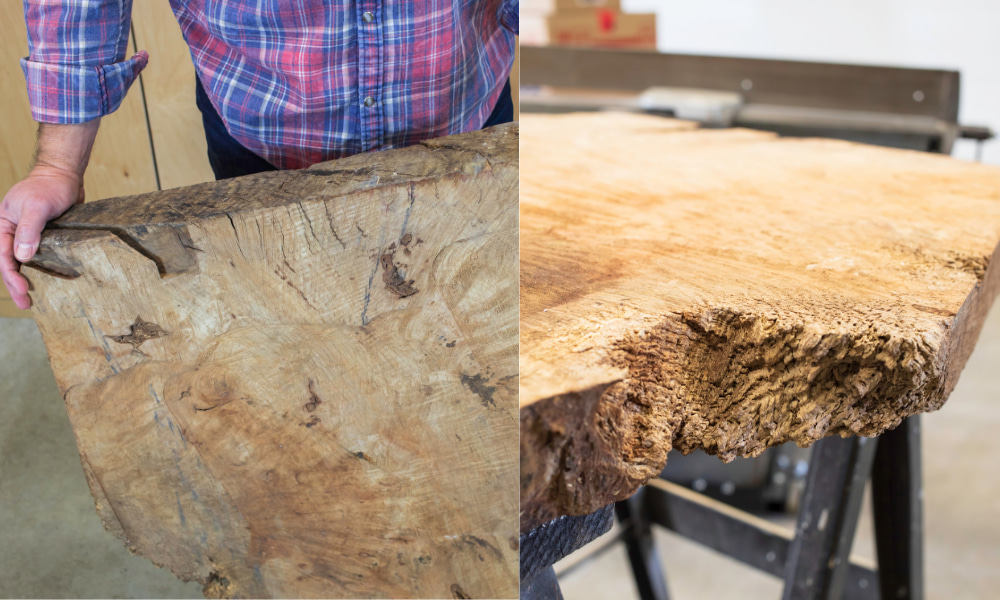
Wood can either be “air-dried” or “kiln-dried, the differences between the different type of kilns will be covered in another article, for now, the basics are:
- Air-dried wood is dried in the open air, typically in a space that is regularly impacted by winds or breezes.
- Kiln-dried wood is placed in a heated environment for an extended period of time.
Kiln-dried is preferable, so long as the wood looks good when you pick it up. Once your live edge slab is appropriately dried, it is ready to be brought home and used.
Pro tip: Because kiln-dried wood sits for so long in a dry hot environment, it tends to eradicate any living bugs from the live edge slab. Bugs tend to die/abandon wood while it is in the kiln, compared to more moist, habitable air dried slabs. Kiln-dried wood slabs typically are heated to 120dg-190dg fahrenheit to bring the moisture content to 8-12%. Over the course of about a month or so, depending on the kiln.
Understanding Warping/Cupping
Picture this: You picked up your slab of live edge wood from the mill or workshop. You originally had a plan to finish the live edge slab over the weekend but unfortunately something came up last minute. You brought it in, left it on your workbench, and went about your week. The next week you go to start working on it, only to find your wood is no longer flat! The edges are higher than the middle by half an inch, and you can now use your live edge slab as the bottom of a rocking chair.
Your slab has cupped! How did that happen? Isn’t dry wood stable? What went wrong?
Trees are living things, and lumber is their by-product. Wood will continue to absorb and cast off moisture as long as any part of it is left unfinished. It doesn’t take much for wood that was correctly dried to take on the moisture content from the air around it, and you will see changes in the slab if the wood is not finished or stored correctly.
The woodshop the lumber is stored in has a unique moisture content compared to your home, as does the drive from the shop to your house. Every change in temperature and humidity can change your slab. Fifteen minutes is less of a problem than a week, but it doesn’t take very long for wood to absorb moisture.
How to Finish a Live Edge Slab
If you’re considering a live edge slab project or have already purchased what you need to start one, understanding how to properly begin will go a long way toward making sure yours is a success. The following are five easy steps to follow as you dig into your woodworking projects.
1. Never set your slab down in an unconditioned space without sealing it.
The worst place to store untreated wood is in your shed, garage, or outside, because the moisture content is constantly fluctuating and can’t be maintained. You need to place your slab in a stable environment where the moisture content and temperature are consistent.
2. Never place your slab flat on another surface.
If you block airflow to one side of your slab but not the other, then moisture will only contact one side of your slab and your wood will move — even in an air-conditioned space. To allow proper airflow, place “stickers” under your wood (1″x1″ sticks) to make sure airflow can hit both the top and bottom of your slab.
3. Keep the temperature consistent in the room.
Don’t go on vacation and change the thermostat by 10 degrees to save money. Any prolonged change can affect your wood slab, so make sure your conditions are going to be consistent throughout the storage and project time.
4. Plastic wrap makes slabs airtight when you can’t maintain your conditions.
Wood conditions stay consistent when no moisture can get to the slab, so wrapping yours tightly with plastic wrap until you can continue your project will go a long way in making sure the process stays on track. You want to minimize opportunities for condensation, so wrap the slab tight and seal up all air holes.
5. Never start a project without following the steps above.
It is always best to seal and finish solid wood slabs to avoid cupping and abnormalities from temperature and humidity conditions. That means it’s best to purchase your untreated wood at a time when you will be able to use it. Do your best to get your project moving quickly to minimize the risk of cupping.
Questions about Live Edge Slabs or Woodworking?
Our next post will discuss what to do if your slab has already cupped, but our team is also here to help you if you have any questions about the woodworking process. Contact Makers Woodshop to speak with an expert about your woodworking needs.
