
Adding Epoxy to your Live Edge Wood project
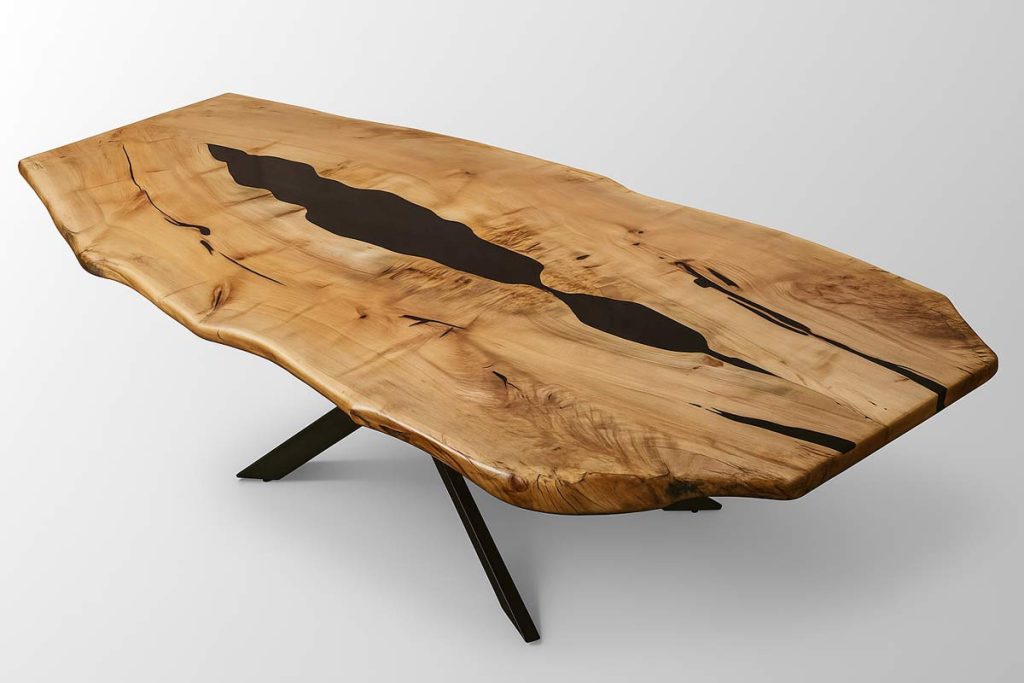
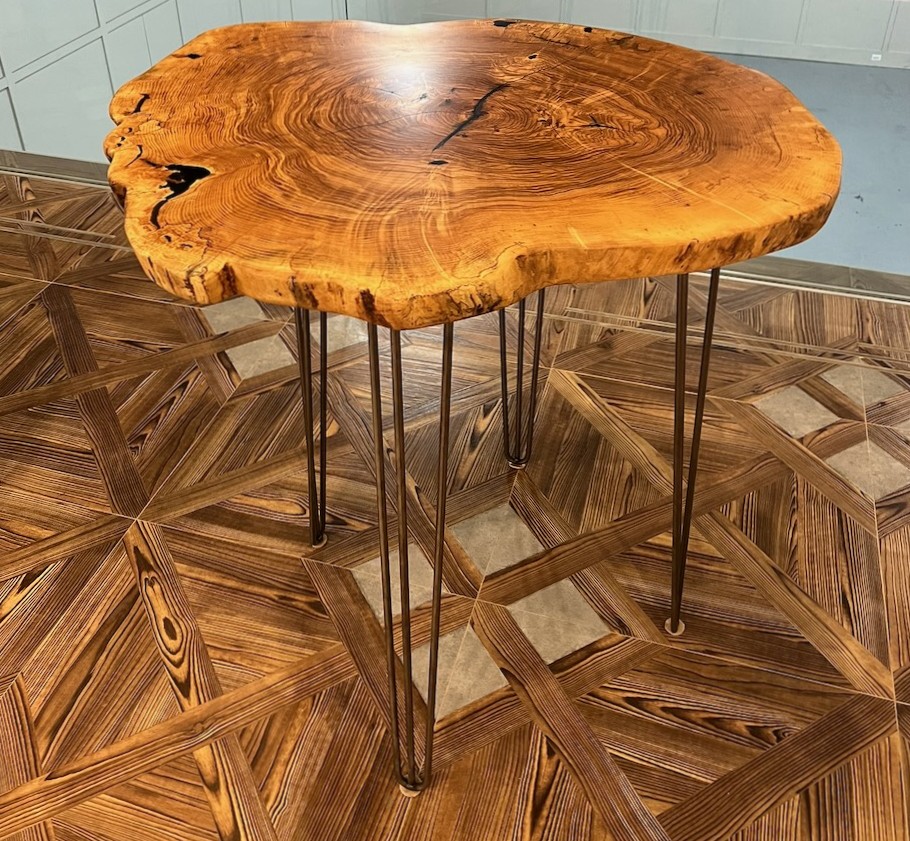
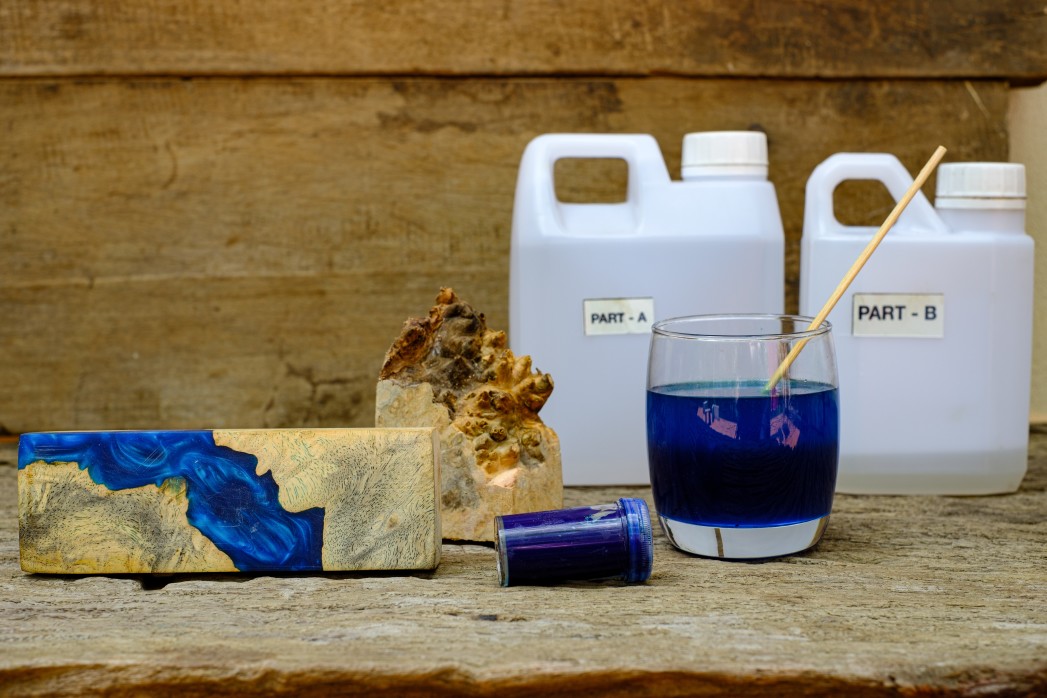
Adding epoxy to a live edge wood project is a great way to turn a beautiful but irregular slab into a usable table, bar top, counter, or custom furniture piece. Epoxy can be used to fill bug holes, cracks, knots, rot pockets, and natural voids that would otherwise make the slab difficult to use.
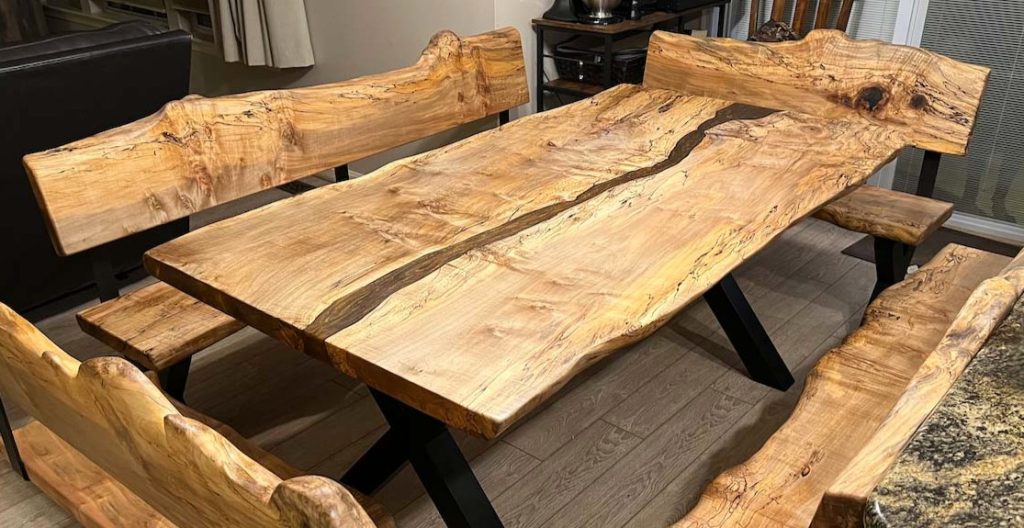
Epoxy is also what makes river tables possible. By combining two pieces of live edge wood with a controlled epoxy pour between them, you can create a single finished piece with a river-like design running through the center.
The following steps will help your project come together more smoothly. Many hardwoods work well for epoxy projects, including black walnut, cherry, oak, poplar, ash, and maple. Softer woods such as pine, cedar, or balsa can also be used, but they may need additional protection because they dent more easily.
Step 1: Choose Your Epoxy Wisely
Not all epoxy products are the same. Some are designed for thin tabletop coats, while others are made for deep pours. Choosing the wrong epoxy can cause major problems during the project.
Tabletop epoxy is generally intended for thinner pours. If it is poured too deep, it can heat too quickly, harden too fast, crack, or fail. In the epoxy world, this fast overheating and hardening is often called a “flash.”
For river tables, deep voids, and thicker pours, use a deep pour epoxy that is designed for the depth of your project. Some deep pour epoxies can handle pours around 2 to 4 inches, depending on the product and project conditions.
The best approach is to read the manufacturer’s instructions carefully and choose an epoxy based on pour depth, working time, cure time, clarity, color compatibility, and reliability.
Step 2: Make a Frame to Hold the Epoxy and Live Edge Slab
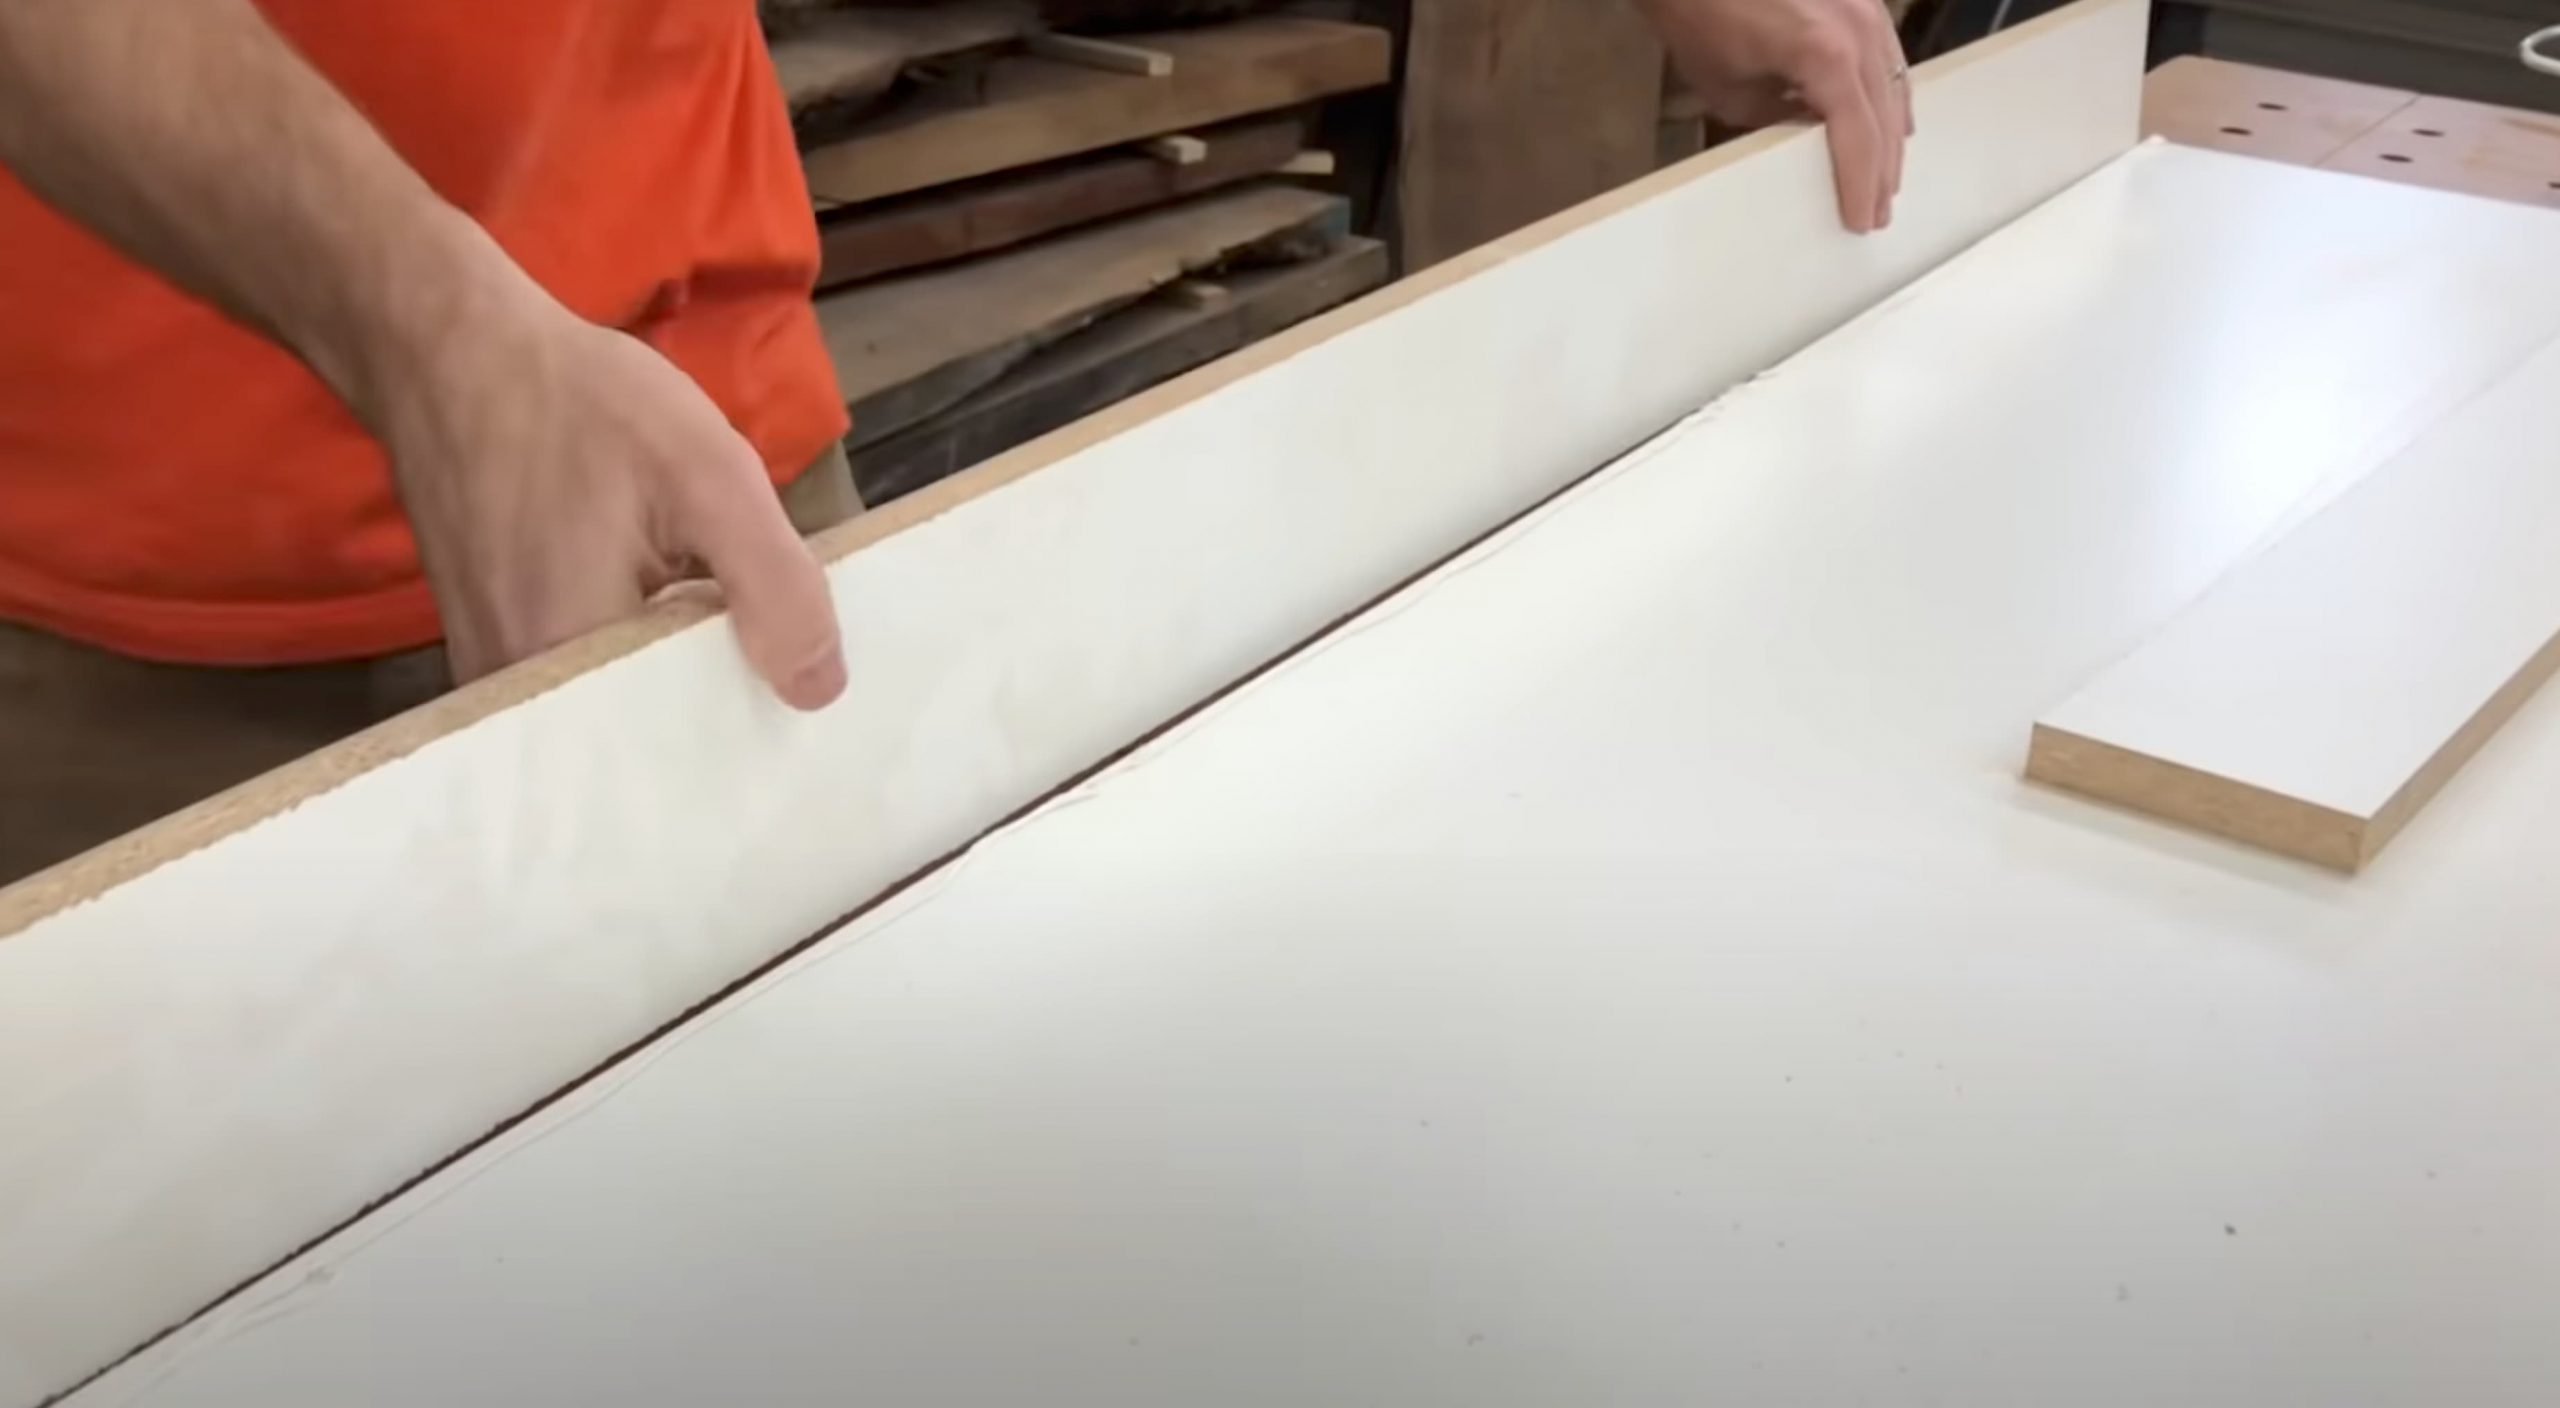
Before pouring epoxy, you need a mold or frame that can hold both the wood and the epoxy in place. There are several ways to make a form.
If you’re looking to make multiple productions from a mold, we recommend checking out this manufacturers site: Jeff Mack Supply.
Melamine is a common option because it has a smooth laminated surface. Corrugated plastic, HDPE molds, plywood covered with packing tape, or other sealed materials can also be used. HDPE molds are convenient and reusable, but they can be more expensive depending on the size.
If you are building a one-time mold, the most important thing is that it is strong, flat, smooth, and sealed. Make the mold slightly larger than the final project so the piece can be trimmed square after the epoxy cures.
For many projects, it helps to make the mold walls around 3 inches tall and leave extra space around the slab. The mold should be screwed or fastened securely so it does not shift during the pour.
Once the mold is assembled, seal every seam carefully. Silicone caulk or strong sheathing tape can help prevent leaks. If you use caulk, allow it to cure fully before pouring epoxy. Epoxy is very good at finding even the smallest gaps.
Step 3: Spray the Live Edge Mold with Mold Release

Mold release makes it much easier to remove the finished piece from the form after the epoxy has cured. Without mold release, the epoxy can stick to the form, making the demolding process frustrating and time-consuming.
Before spraying mold release, make sure all seams have already been taped or caulked and that any caulk has had enough time to dry. Spray the mold release evenly across the surfaces that may contact the epoxy.
Use mold release in a well-ventilated area and follow the product’s safety instructions. Wearing the right mask or respirator is important, especially when using strong spray products.
Step 4: Prep and Place Your Wood in the Form
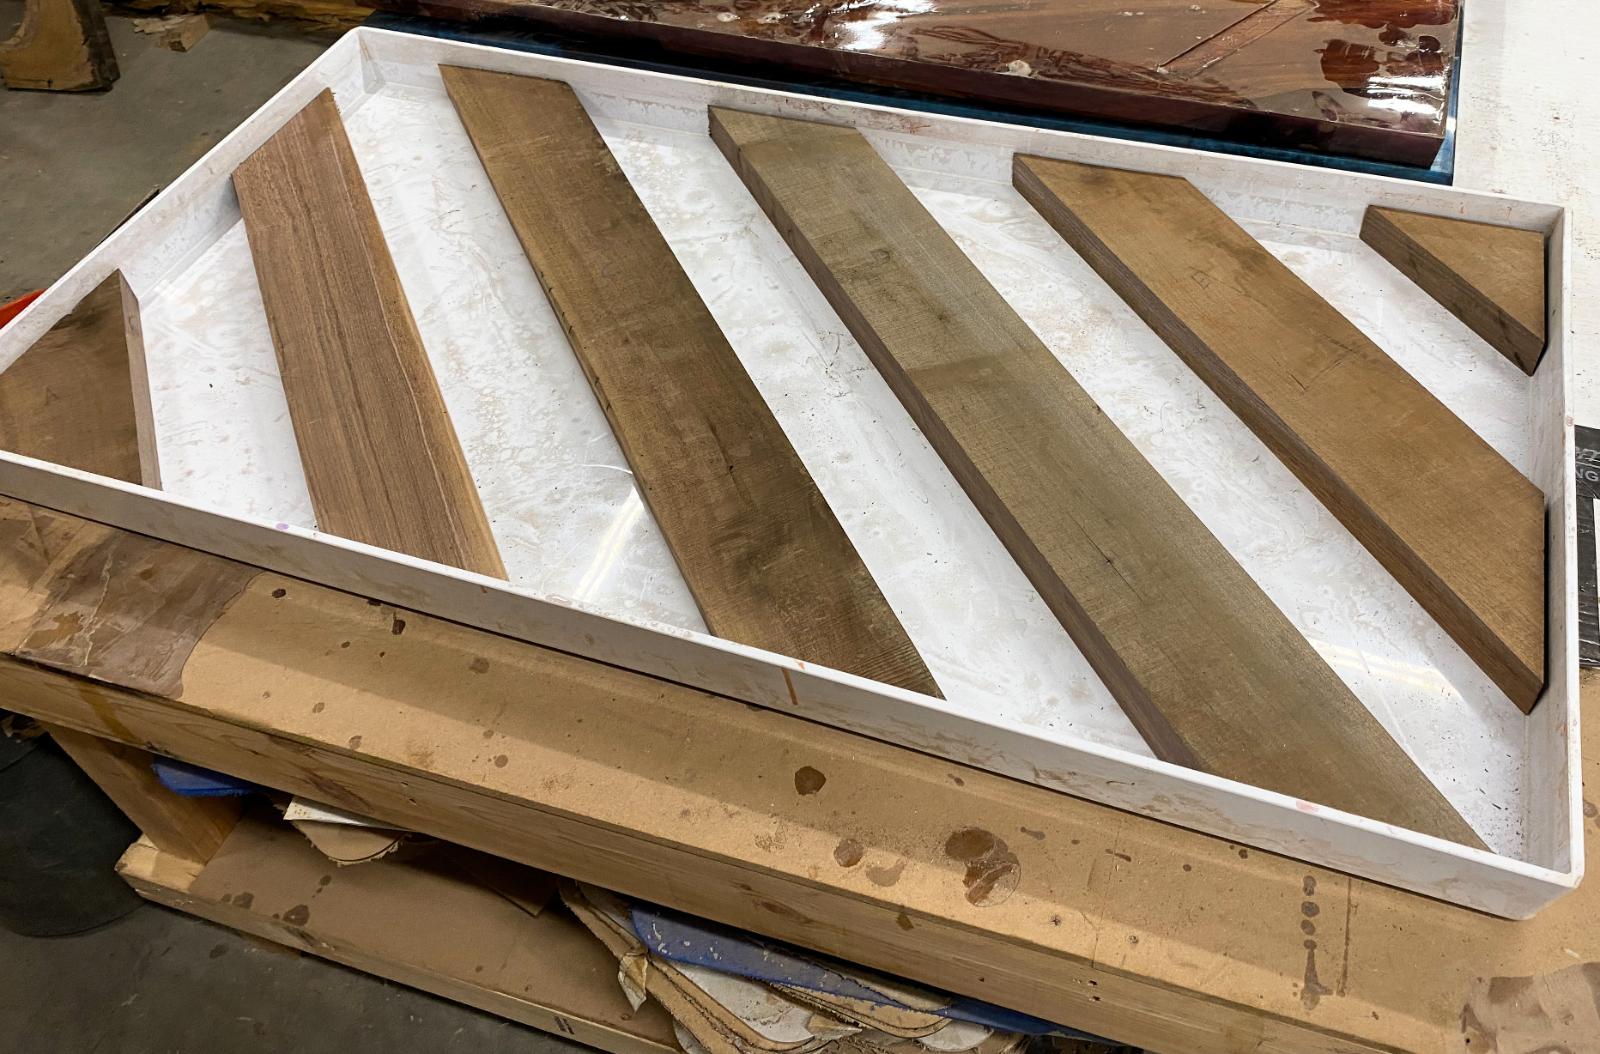
Before placing the wood in the mold, clean it thoroughly. Remove bark, dirt, dust, loose material, soft spots, and debris. Any material left behind can affect the bond, create bubbles, or show up in the finished pour.
The live edge should be solid and clean. If the slab has cracks, voids, or bug holes, make sure they are free of loose debris before epoxy is added.
Once the wood is clean, place it in the mold and position it exactly where you want it. Take your time with this step, especially on river tables. The spacing between slabs will determine the final shape and width of the epoxy river.
Step 5: Calculate Your Epoxy Volume
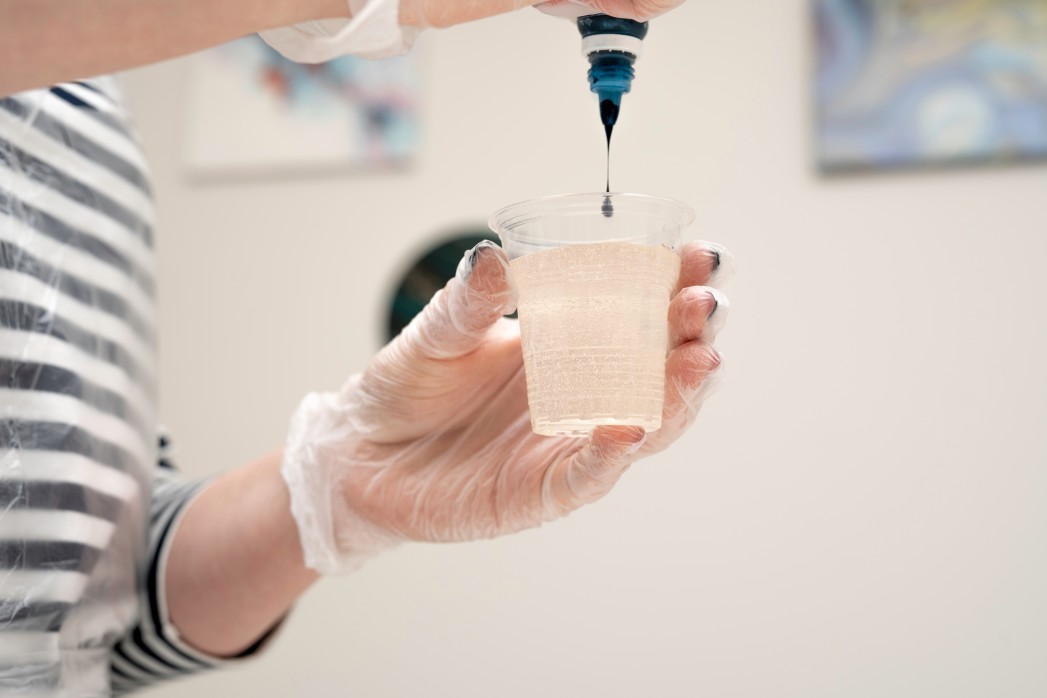
Before mixing epoxy, calculate how much material you need. Running out of epoxy in the middle of a pour can create visible lines, color inconsistencies, and extra work.
Measure the length, width, and depth of the area being filled. For river tables or irregular voids, measure the width in several places and use an average. This will give you a better estimate than measuring only one spot.
Epoxy calculators are useful for this step, especially with irregular live edge shapes. It is usually better to plan carefully upfront than to guess and come up short during the pour.
Step 6: Secure the Wood in the Form 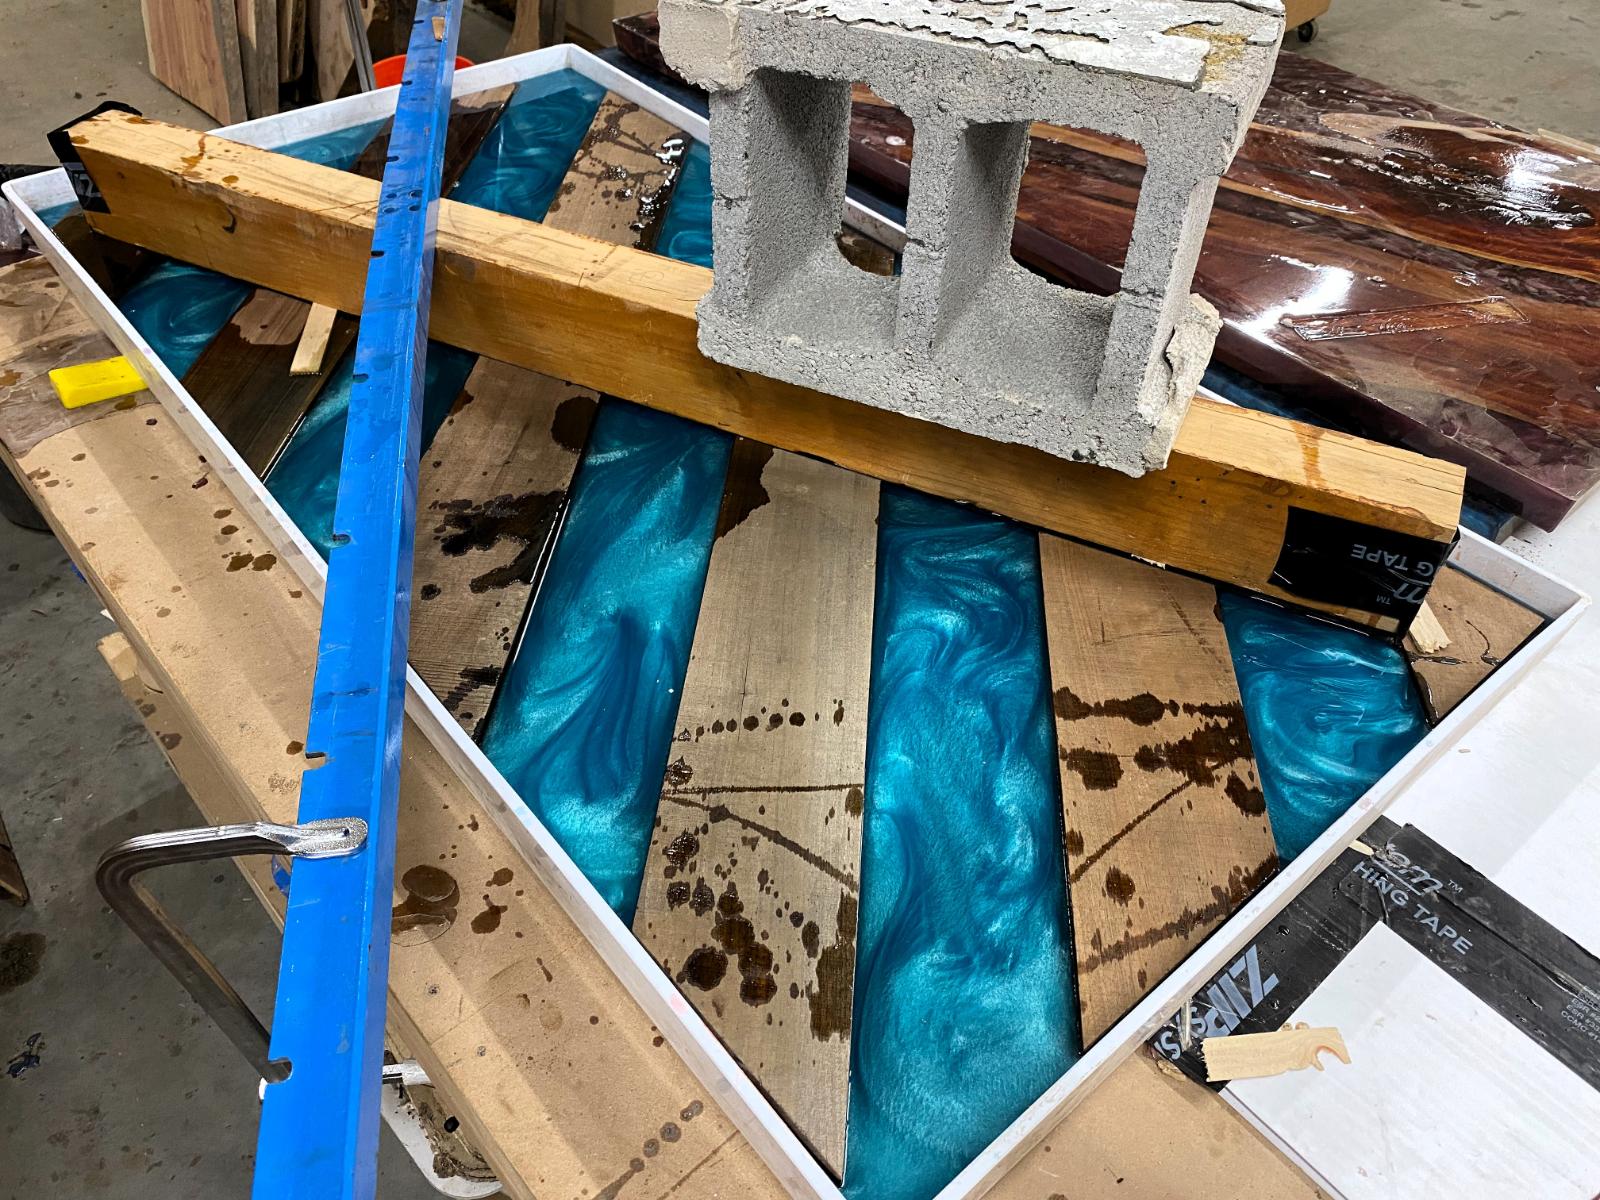
Wood can float when epoxy is poured around it. If the slab is not secured, it may rise, shift, or move out of position during the pour.
Use blocks, boards, clamps to hold the slab firmly in place. Any part of the clamp setup that may touch epoxy should be covered with packing tape or another release-friendly surface, so it does not become permanently attached to the project.
Clamp across the slab carefully, using even pressure. The goal is to keep the wood stable without damaging the surface or changing the layout.
Step 7: Pour the Epoxy
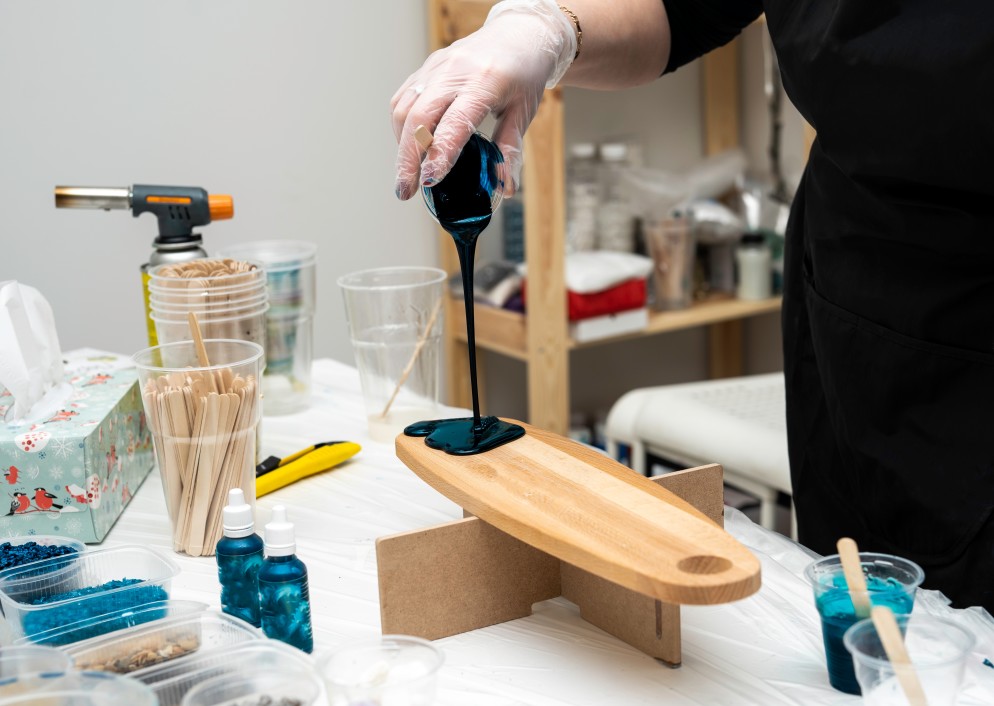
Once the mold is sealed, the wood is clean, and the slab is secured, it is time to mix and pour the epoxy.
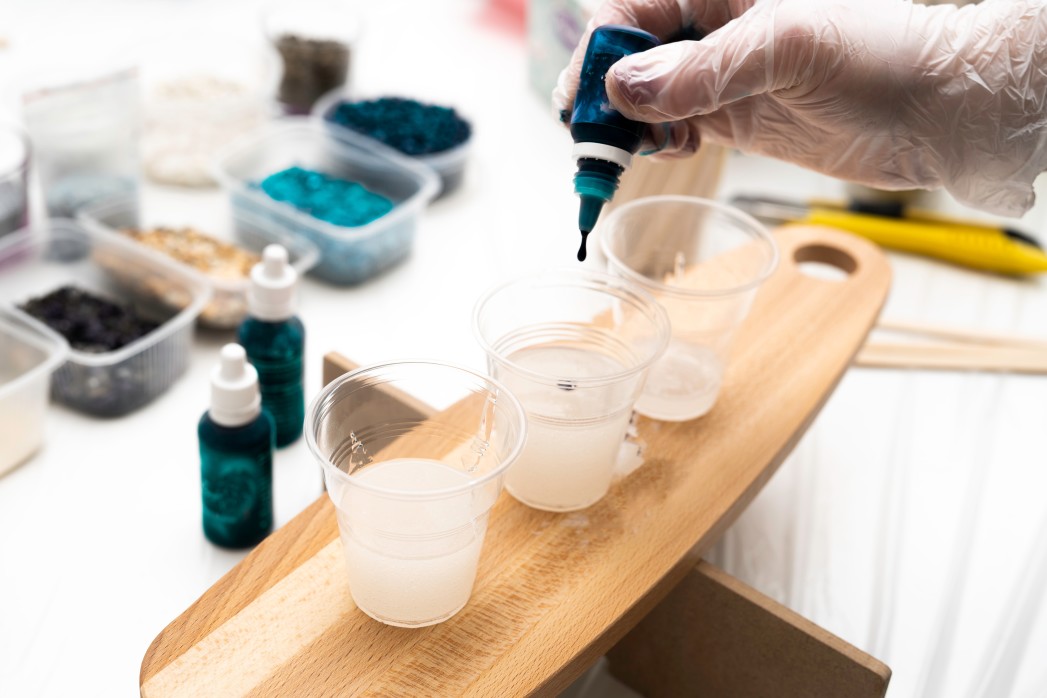
If you are adding color, mix enough epoxy with the same color for the project. Matching color between separate pours can be difficult, especially with dyes, pigments, and mica powders. A solid color usually comes from dye or pigment, while metallic movement is often created with mica powder.
Pour slowly and evenly. Depending on the project, the epoxy may be poured level with the wood or slightly above it so it can be flattened later.
After pouring, use a torch carefully to help remove bubbles from the surface. Do not overheat the epoxy. A quick pass is usually enough to bring bubbles to the surface and pop them.
Then allow the epoxy to cure according to the manufacturer’s instructions. Cure time can vary depending on the epoxy type, pour depth, temperature, humidity, and room conditions.
Step 8: Demold, Flatten, Sand, and Finish
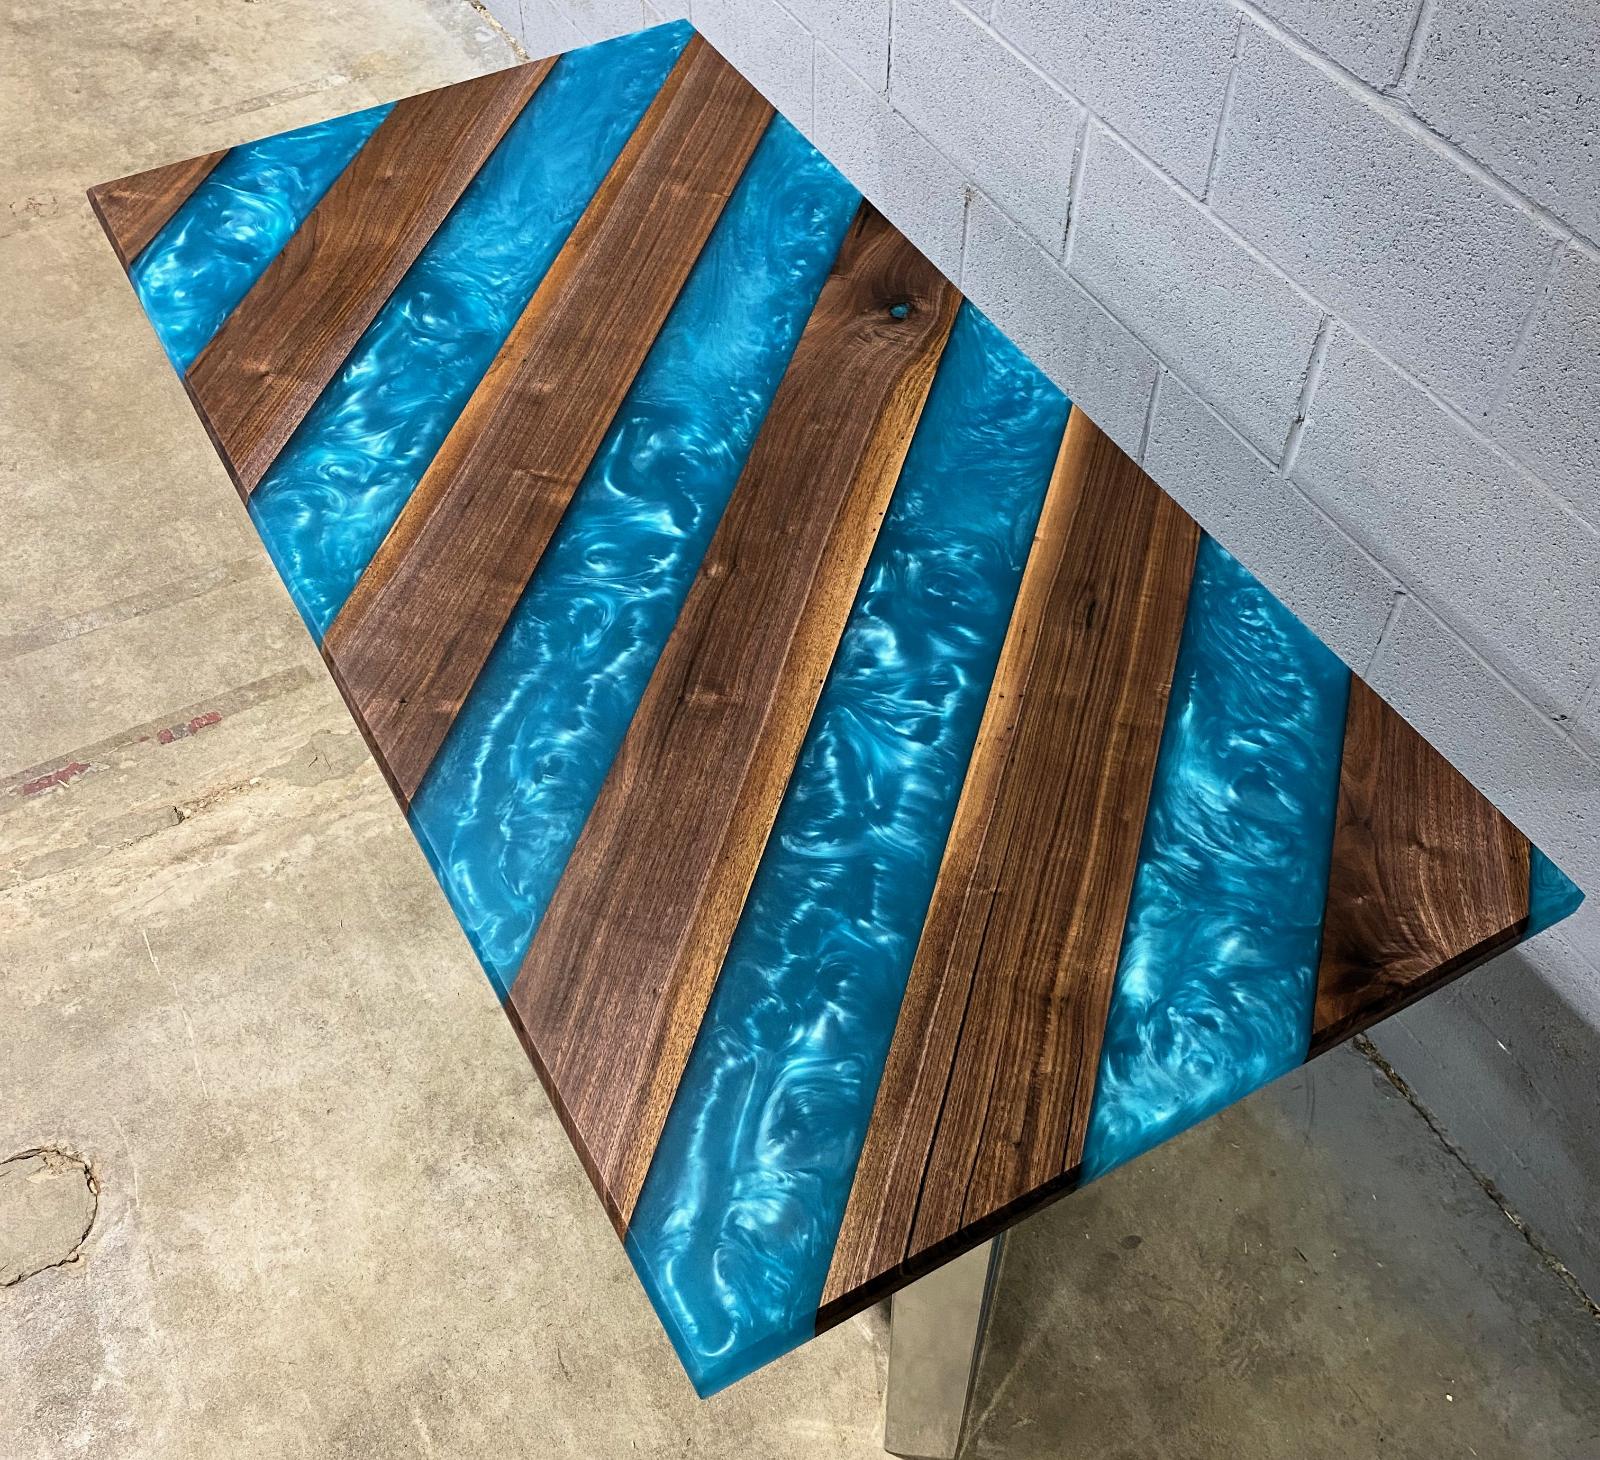
After the epoxy has fully cured, remove the piece from the mold. If the mold was properly sealed and sprayed with mold release, this step should be much easier.
Once the piece is out of the mold, it needs to be flattened and sanded. This can be done by hand, but larger epoxy projects often require a significant amount of sanding. A wide belt sander, slab flattener, or professional surfacing equipment can save hours of work.
Start with the appropriate grit for the surface condition and work through progressively finer grits. Be patient during this stage, because sanding has a major impact on the finished appearance.
Once sanding is complete, apply the chosen finish. A good finish will bring out the natural beauty of the wood, protect the surface, and give the epoxy and wood a clean, polished look.
5 Important “Do Nots” When Working with Epoxy and Live Edge Tables
- Do not use acrylic sheet for your mold base. It can warp from the heat created as epoxy cures.
- Do not apply caulk after spraying mold release. The caulk may not stick properly once mold release has been applied.
- Do not use hot glue as your main seam sealer. Epoxy heats up during curing, softens the hot glue, and may cause leaks.
- Do not pour too soon after caulking your seams. If the caulk has not fully cured, epoxy can leak through the mold.
- Do not rush the process. Most epoxy problems come from poor preparation, weak seams, bad measurements, or moving too quickly.
Final Thoughts
Pouring epoxy for a live edge wood project takes planning, patience, and careful preparation. The mold must be sealed, the wood must be clean, the slab must be secured, and the epoxy must be chosen for the correct pour depth.
When done correctly, epoxy can transform cracks, voids, bug holes, and natural openings into beautiful design details. Whether you are building a river table, bar top, coffee table, counter, or custom live edge piece, the right process will help create a finished project that is both durable and visually striking.