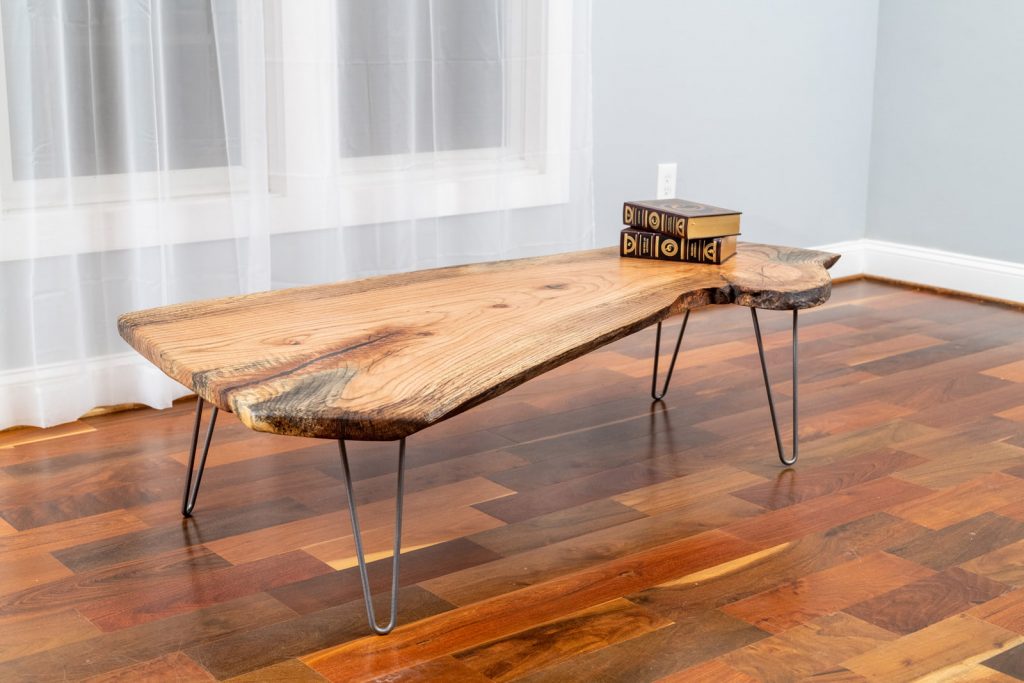
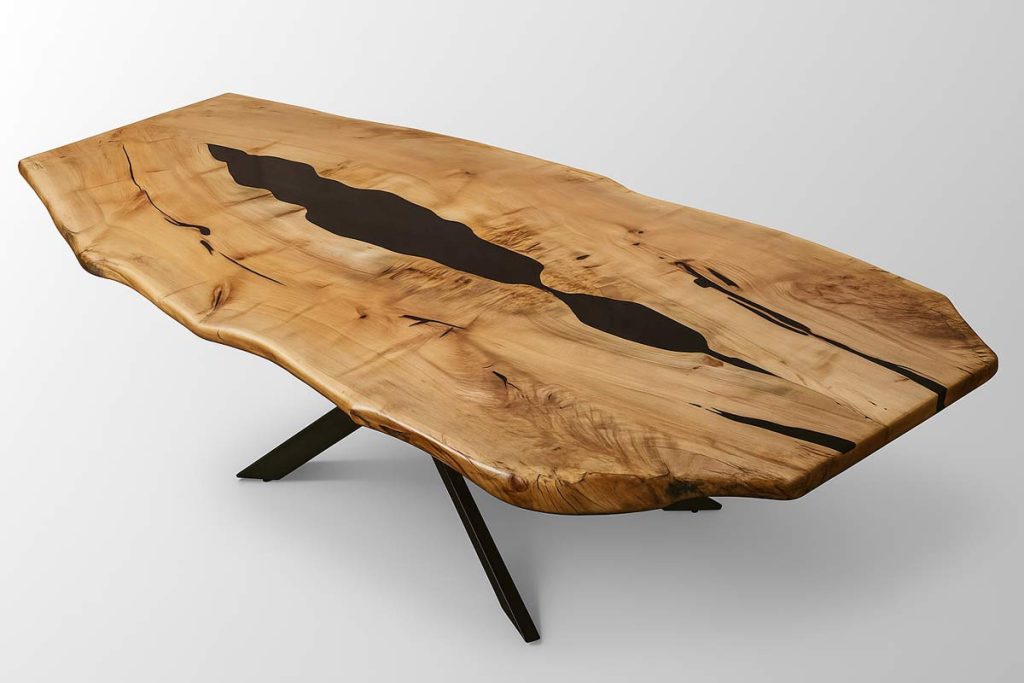
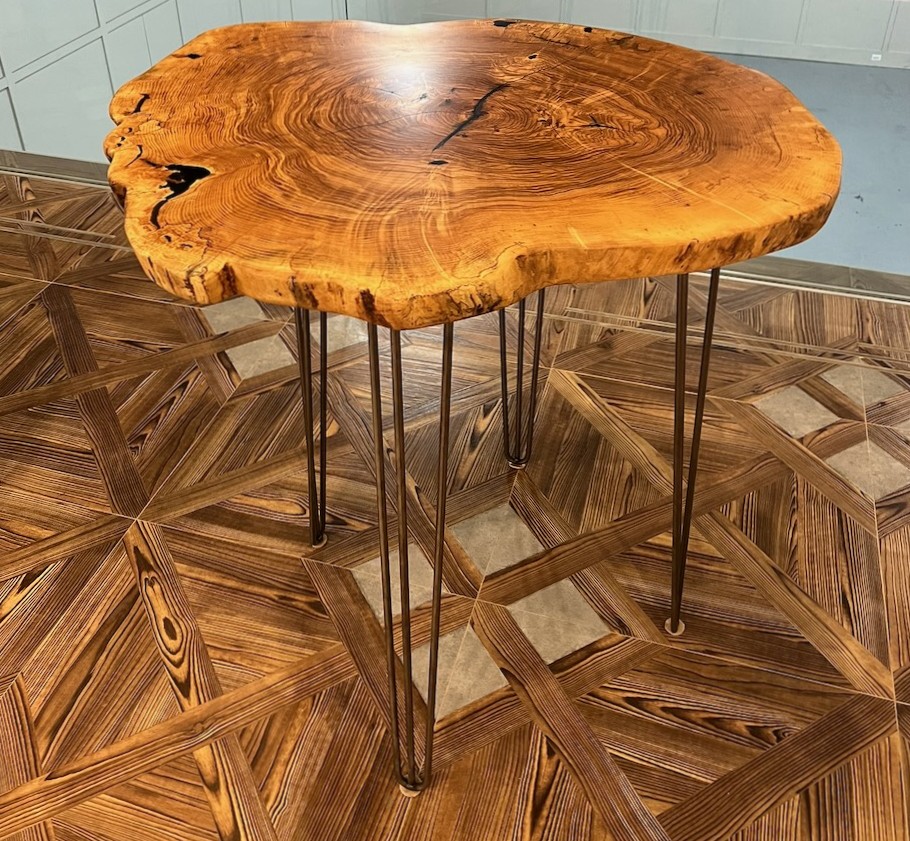
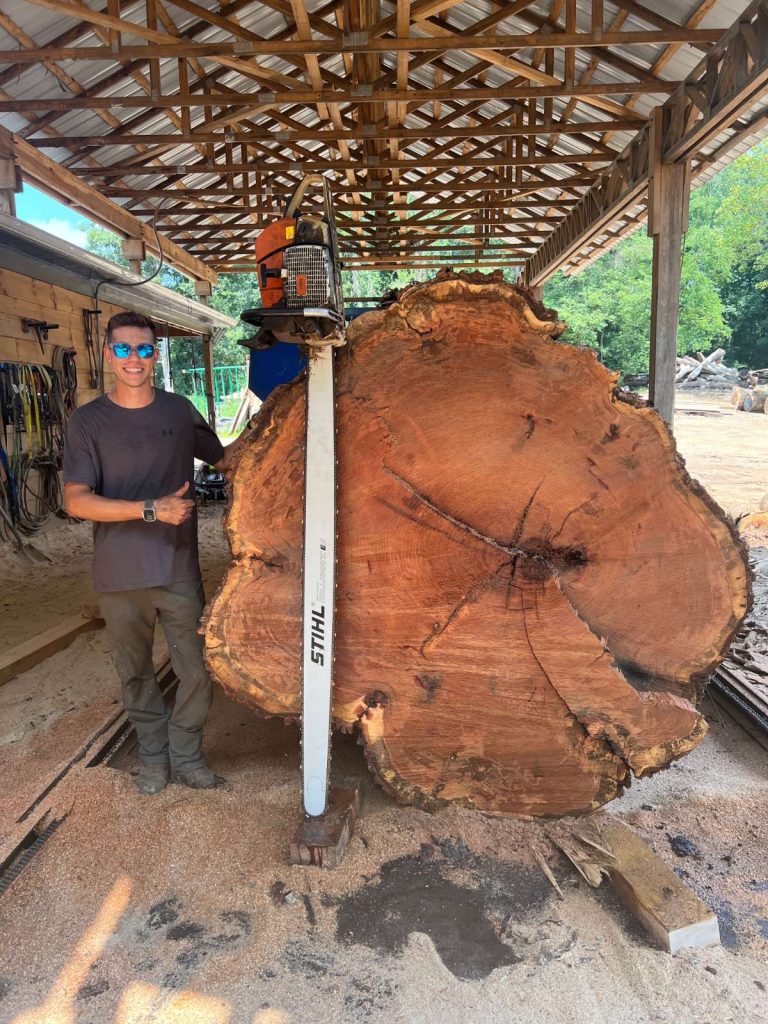
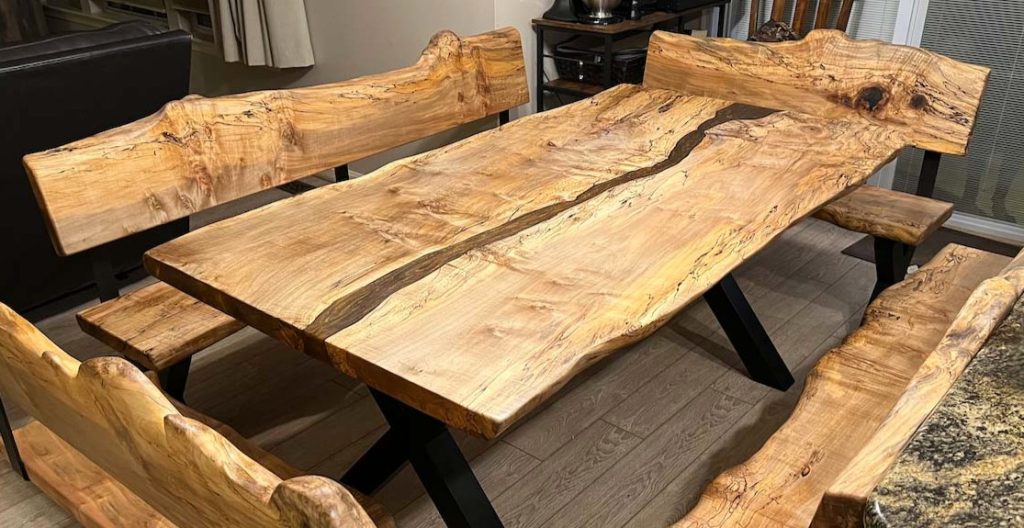
So, you bought your own live edge slab and have big plans for turning it into a coffee table, dining table, floating shelves, bar top, desk, or another custom woodworking project. Live edge slabs can create a timeless look that works with many styles, from rustic and organic to clean and modern.
But before you leave the woodshop and start building, there are a few important things to understand. Proper milling, drying, storage, preparation, and finishing all matter. If a live edge slab is handled incorrectly, a project that started with a beautiful piece of wood can quickly become frustrating.
This guide covers a few key tips to help you work with a live edge slab successfully.
How to Prepare Live Edge Wood Slabs
It may seem like the only steps are simple: buy the slab, start the project, and finish the project. In reality, there is more to it than that.
A live edge slab is a large piece of solid wood, and solid wood continues to respond to its environment. Before getting started, it is important to understand whether the slab is dry, how it should be stored, and how to avoid movement before the project is finished.
Here are a few things to consider and questions to ask before beginning your live edge project.
The Drying Equation
Before purchasing or working with a live edge slab, confirm that the wood has been properly dried to a moisture content under 12%, with 8% to 10% often preferable depending on the species and intended use.
Wood can be air dried, kiln dried, or both.
Air-dried wood is dried naturally in open air, usually while stacked with spacers that allow air to move around each slab.
Kiln-dried wood is placed in a controlled heated environment to reduce moisture more consistently and prepare the slab for indoor use.
Kiln-dried slabs are often preferred for finished furniture because the process helps bring the wood to a more stable moisture level. Kiln drying can also help reduce or eliminate insects that may still be present in the slab. Kiln-dried slabs are commonly heated to approximately 120°F to 190°F to bring moisture content down to the 8% to 12% range, depending on the kiln and drying schedule.
Even after drying, wood is not completely inactive. Wood gains and loses moisture as surrounding humidity and temperature change, which is why proper storage and finishing are so important.
Understanding Warping and Cupping
Imagine this: you bring home a live edge slab and plan to finish the project over the weekend. Something comes up, so you leave the slab sitting flat on your workbench for a week. When you come back, the slab is no longer flat. The edges have lifted, the center has dropped, and the slab has started to cup.
This can happen even with wood that was properly dried.
Wood is a natural material. It continues to absorb and release moisture based on the air around it. The woodshop, your vehicle, your garage, your basement, and your home can all have different humidity and temperature conditions. Those changes can affect the slab.
If one side of the slab gains or loses moisture differently than the other side, the wood can move unevenly. That movement can show up as cupping, bowing, twisting, or other changes in shape.
This is why storage matters so much between the time you purchase the slab and the time you finish it.
How to Finish a Live Edge Slab Successfully
If you are planning a live edge slab project, a few basic handling steps can help reduce problems before you begin cutting, sanding, epoxy filling, or finishing.
1) Never Store an Unfinished Slab in an Unconditioned Space Without Sealing It
Untreated wood should not be stored in a shed, garage, outside, or any space where temperature and humidity swing heavily throughout the day.
Unconditioned spaces can expose the slab to moisture, dry air, heat, cold, and rapid changes in humidity. Those changes can cause movement before you ever start the project.
Whenever possible, store the slab in a stable, conditioned space where temperature and moisture stay consistent. If the slab is going to sit for any period of time, sealing it or beginning the finishing process quickly can help reduce the chance of cupping or warping.
2) Never Place Your Slab Flat Directly on Another Surface
Do not leave an unfinished slab lying flat on a workbench, floor, table, or other surface for an extended period of time.
When one side is blocked from airflow and the other side is exposed to air, the two faces of the slab can gain or lose moisture at different rates. That uneven moisture exchange can cause the wood to move.
Instead, place small spacers, often called stickers, under the slab. These can be simple 1-inch by 1-inch strips that lift the slab and allow airflow to reach both the top and bottom faces. This helps the slab acclimate more evenly and reduces the chance of one-sided movement.
3) Keep the Room Temperature Consistent
Consistency is important when storing or working on a live edge slab. Avoid major changes in temperature while the slab is unfinished.
For example, do not leave for vacation and adjust the thermostat dramatically to save energy if an unfinished slab is sitting in the space. A large temperature or humidity change over several days can affect the wood.
Try to keep the slab in a stable room until the project is complete. Consistent conditions help reduce movement and make the woodworking process more predictable.
4) Use Plastic Wrap When You Cannot Maintain Stable Conditions
If you cannot keep the slab in a stable environment, tightly wrapping it in plastic can help slow moisture exchange until you are ready to continue the project.
The goal is to reduce the slab’s exposure to changing air conditions. Wrap the slab tightly and seal openings as well as possible. The fewer air gaps there are, the less opportunity there is for moisture to reach one part of the slab unevenly.
Be careful to avoid trapped condensation. Plastic wrap can help in certain storage situations, but the slab should still be handled thoughtfully and finished as soon as practical.
5) Do Not Start Without Following the Storage Steps First
The best way to prevent movement is to think about storage before you bring the slab home. Live edge slabs are much easier to work with when they remain flat, stable, and properly acclimated.
If you are buying untreated wood, try to purchase it when you are ready to begin the project. The longer an unfinished slab sits, the more opportunity it has to absorb or lose moisture unevenly.
Whenever possible, move the project along quickly. Seal, flatten, sand, fill, and finish the slab in a timely manner so the wood is protected from unnecessary changes in temperature and humidity.
Final Thoughts
A live edge slab is not just a board. It is a large piece of solid wood, and it needs to be handled with care before it becomes a finished table, shelf, desk, bar top, or furniture piece.
The most important steps are simple: confirm the slab is properly dried, avoid unconditioned storage, keep airflow around both sides, maintain a consistent environment, wrap the slab if needed, and start the project as soon as you reasonably can.
With the right preparation, your live edge slab has a much better chance of staying flat, stable, and ready for a successful woodworking project.
Questions About Live Edge Slabs or Woodworking?
If you have questions about choosing, storing, flattening, sanding, finishing, or building with a live edge slab, contact Makers Woodshop today. We can help you choose the right slab and guide you toward a successful project.